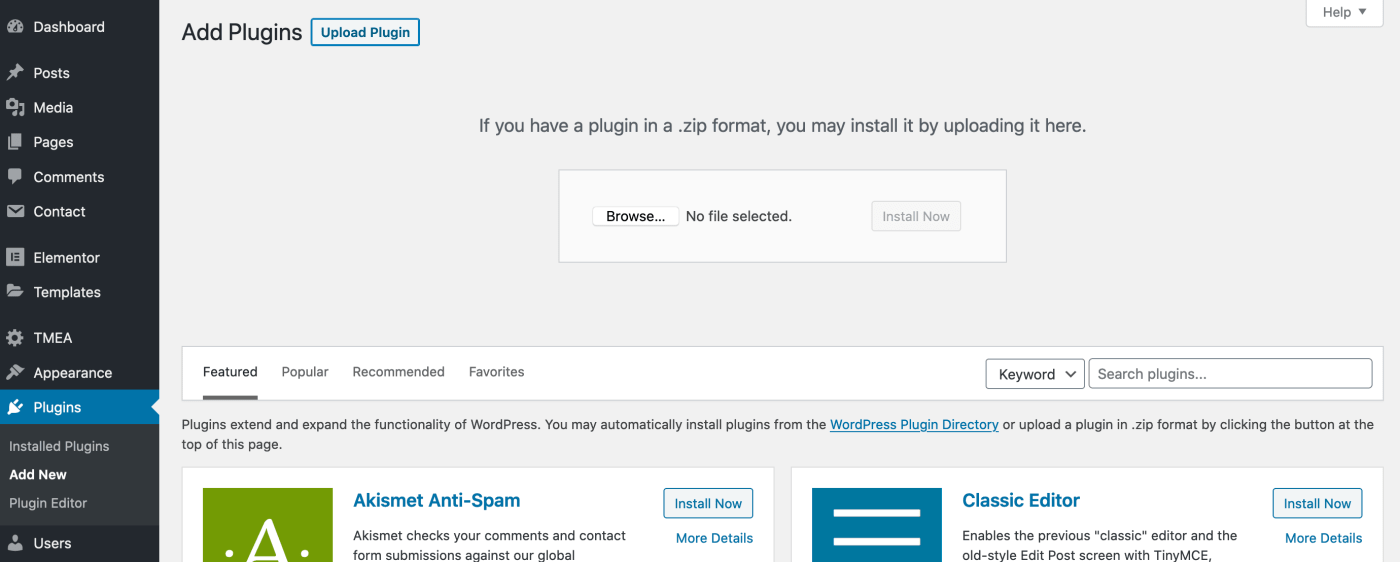
Installation
The first thing you need to do when you want to install a new WordPress plugin is to login to your site admin page. Once there, go to Plugins -> Add New. Click "Upload Plugin" button and upload the zip file from your local hard drive.
Important!
TMNET works on only WordPress Multisite Network. If you haven't used it before following article may help you (Please make a Goodle search to find more articles);
What is Multisite? How to Create WordPress Multisite Network?
Elementor Page Builder
Elementor is the best WordPress Page Builder, with over 5.000.000 active installs. You can create a beautiful website using a simple, intuitive drag and drop Interface. To use TM Elementor Addons, first of all you must install Elementor Page Builder. Download Elementor.
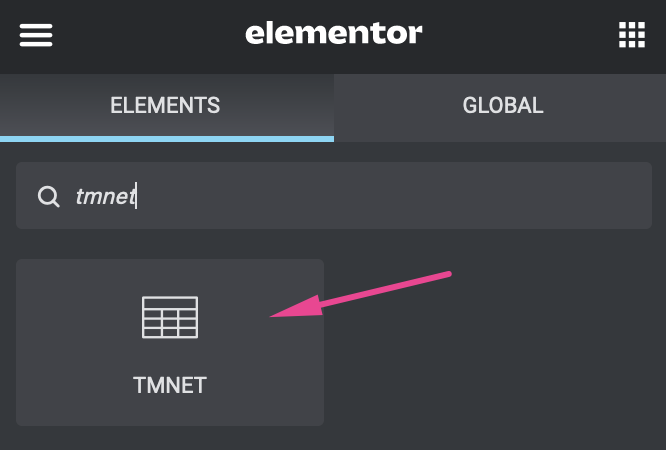
To find the widget easily, you can enter "tmnet" to widget search field. You can find the default settings of the widget in "Content" tab. All other style settings are in "Style" tab.
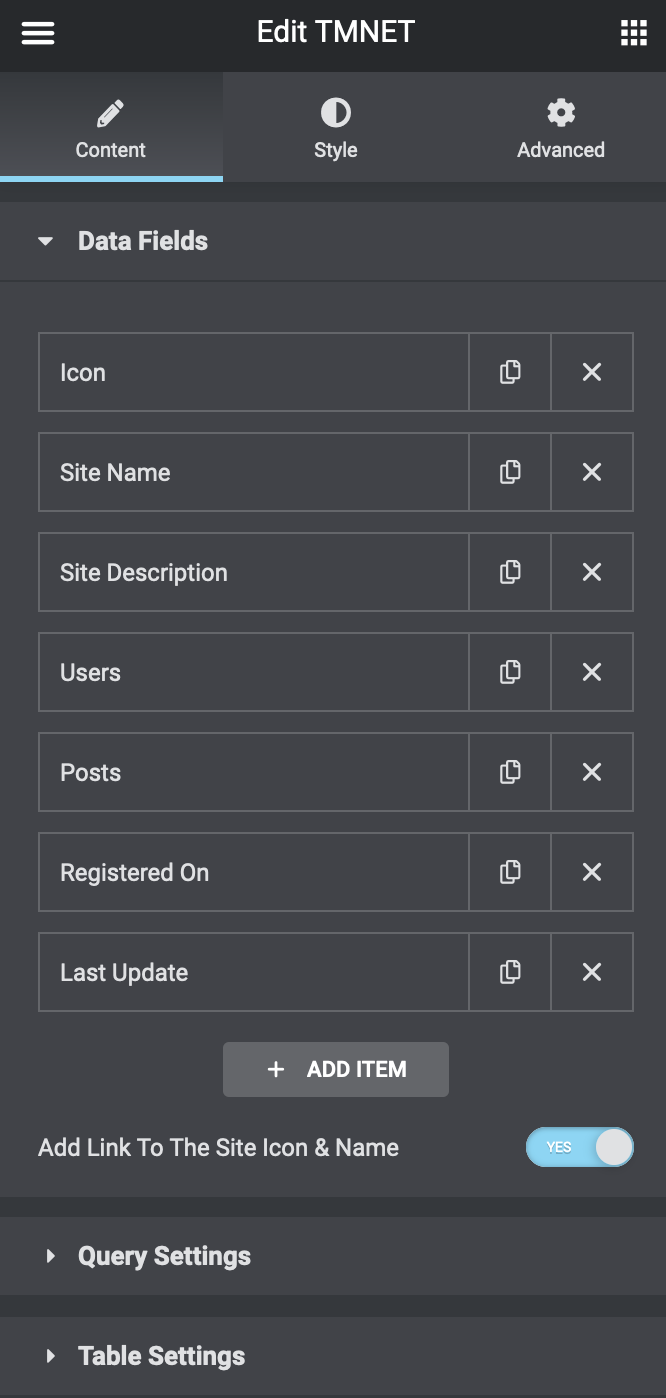
Data Fields (Content)
You can select as many data fields as you want to show on the table.
Icon: Site icon is a WordPress core feature. You can add a site icon to a site from Appearance->Customize->Site Identity.
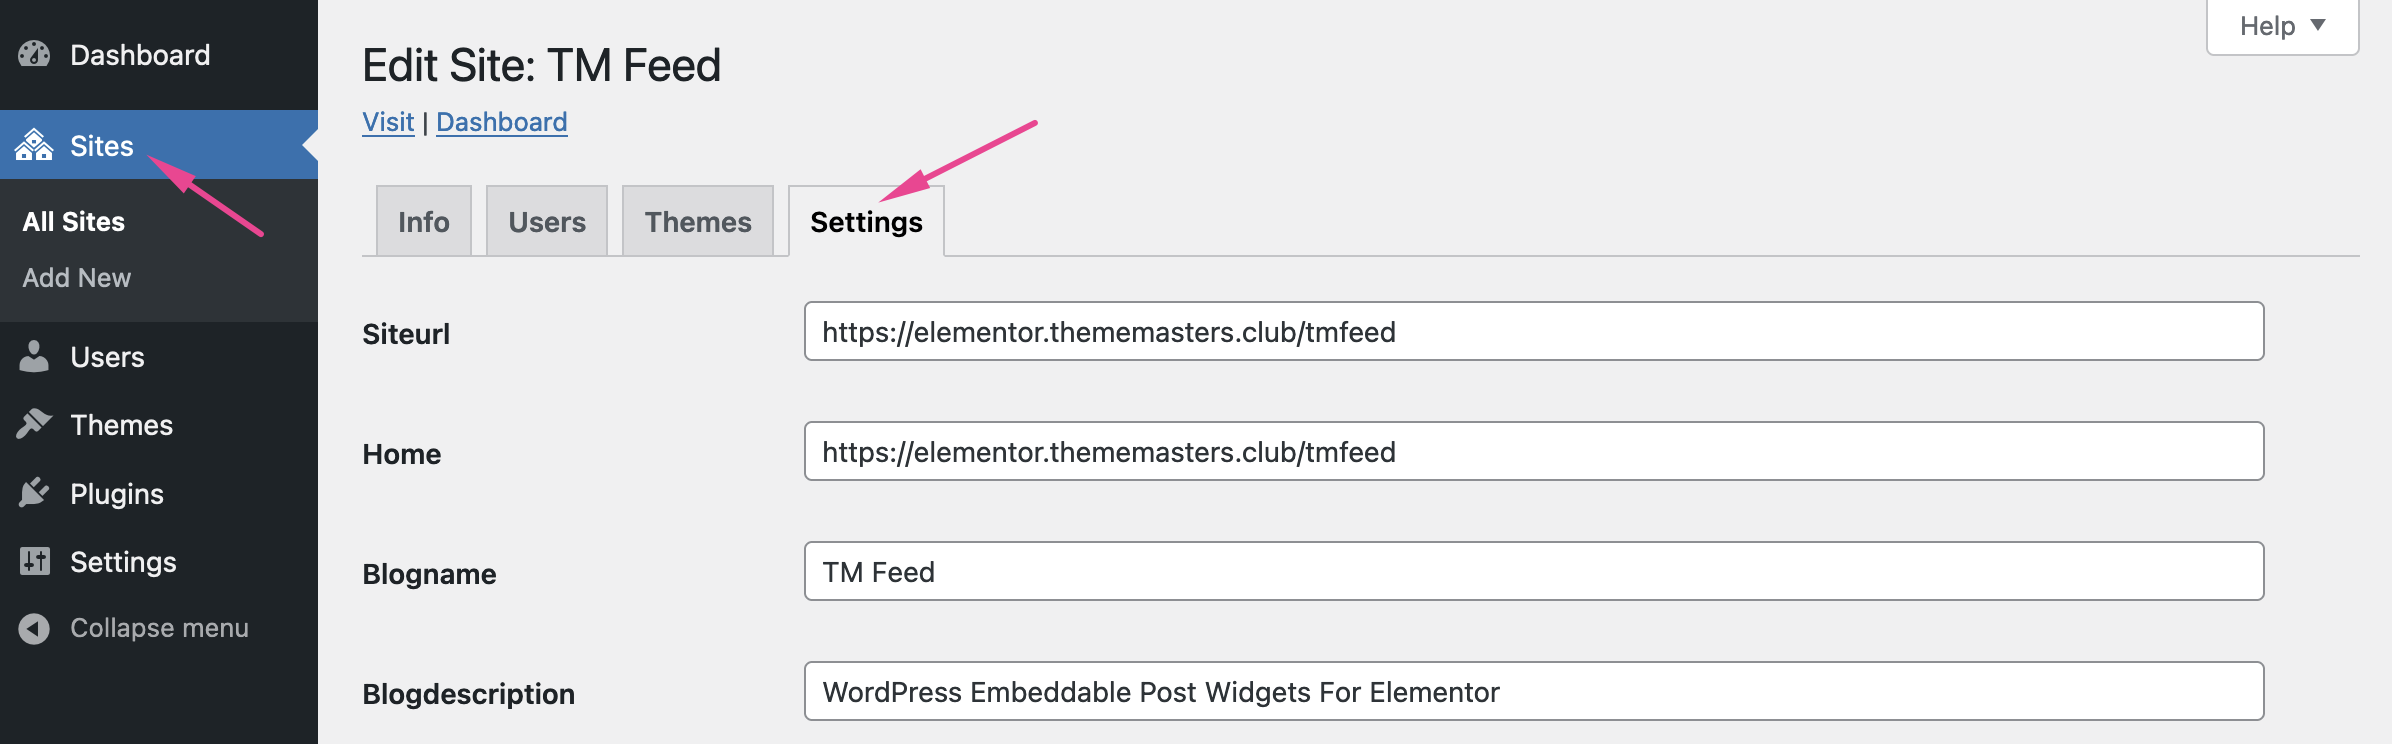
Blog option: If you select "Blog Option" as data source, you must enter a valid blog option slug. Blog option slugs are usually similar to the option names. Slugs must be all lowercase and not contain space or non-latin character. For example;
Admin Email = admin_email
Mailserver URL = mailserver_url
Query Settings (Content)
You can filter the results from this section.
Order: If you want to order the sites manually, you should disable "Table Settings -> Ordering".
Exclude/Include: You can find the site ID on your browser's address bar on site edit page. To include/exclude multiple sites, add comma between sites.

Date Formats: You must enter valid date formats. Otherwise you get an error. For more information about date format, click here...
Site Attributes;
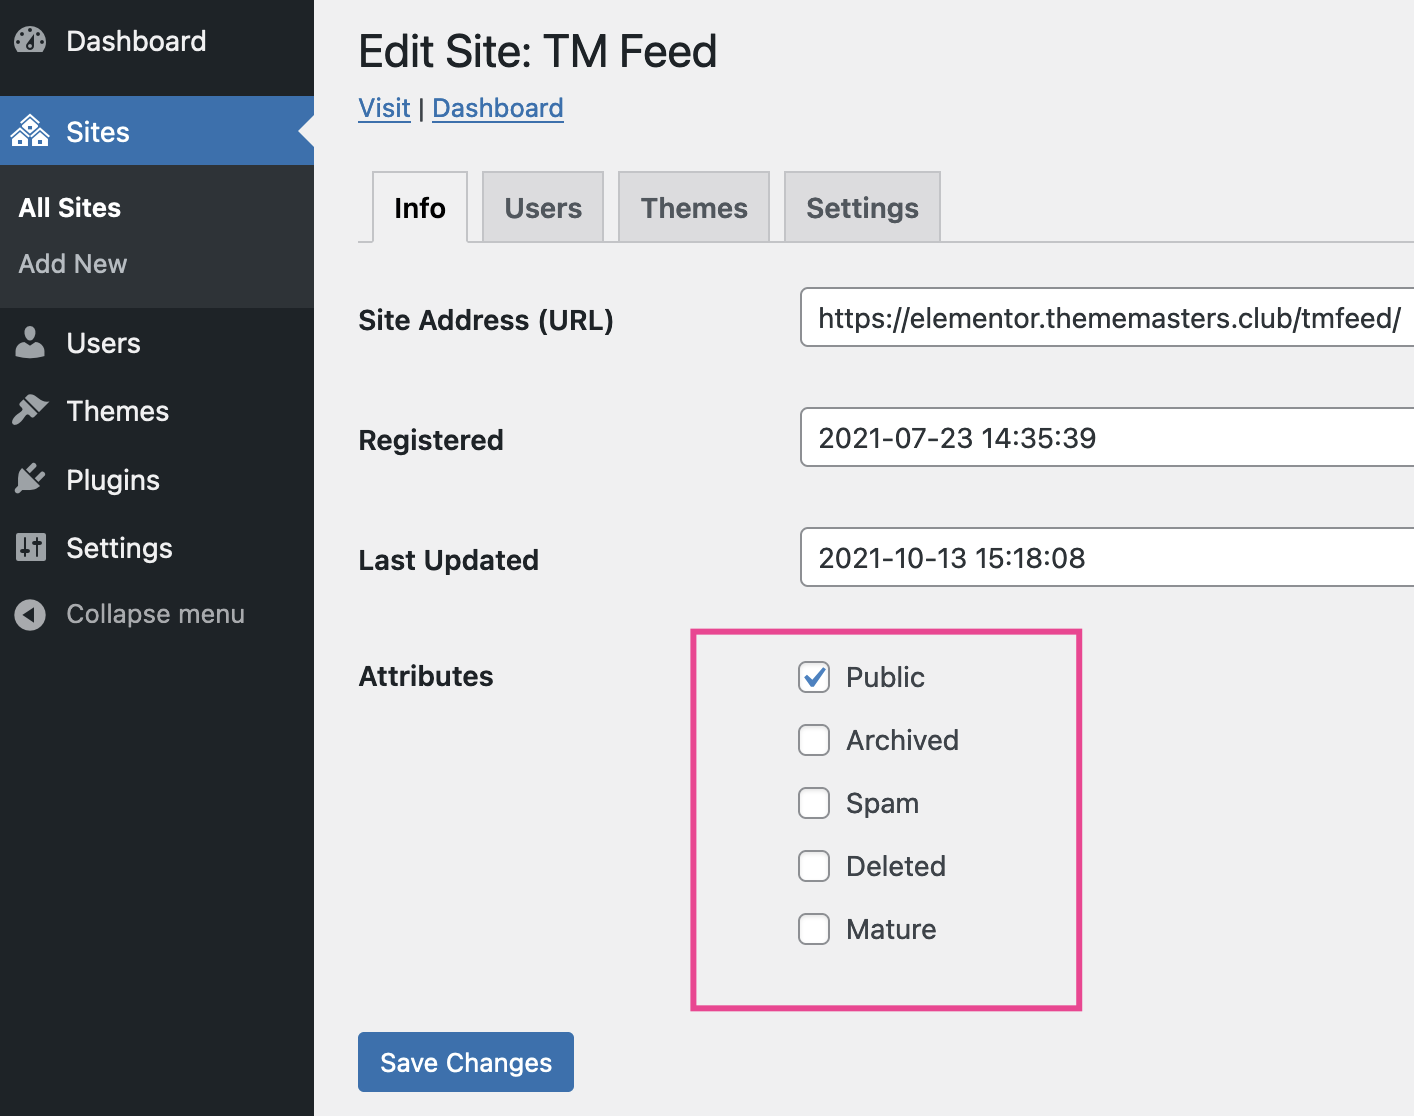
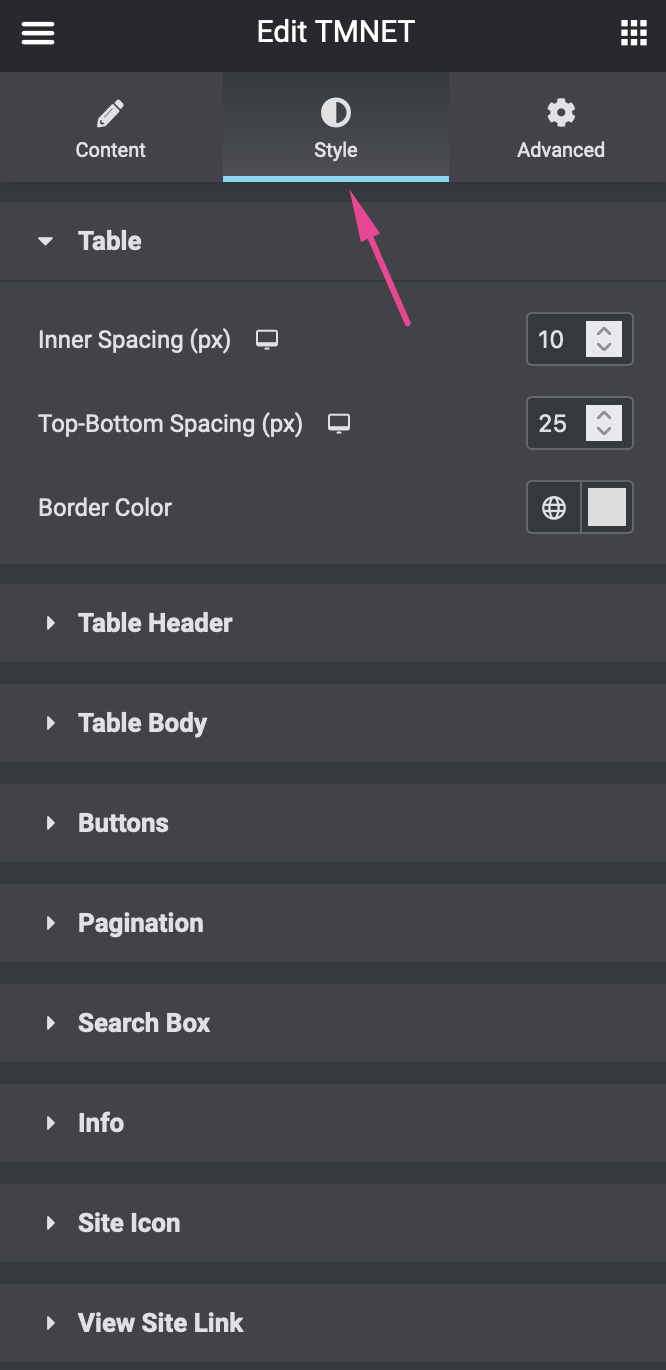
Table Settings (Content)
You can enable/disable any feature related to data table from this section.
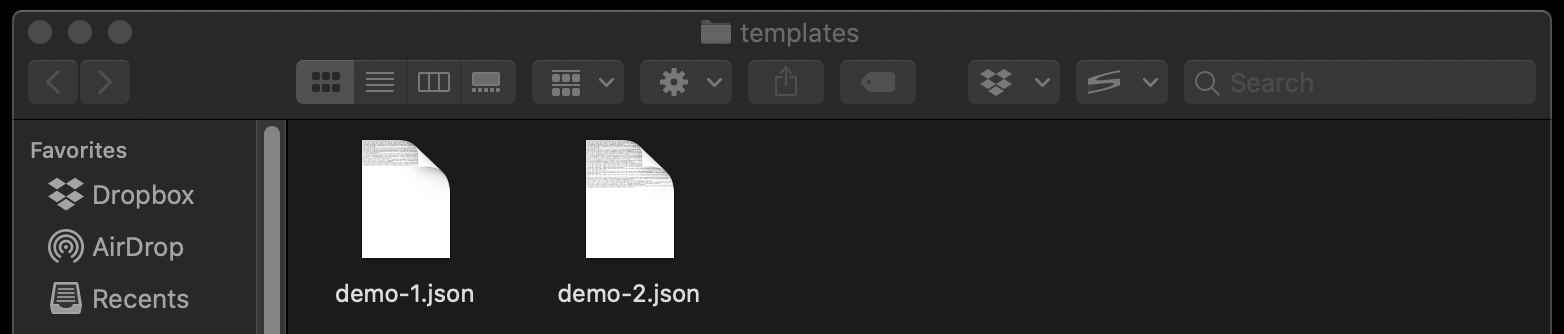
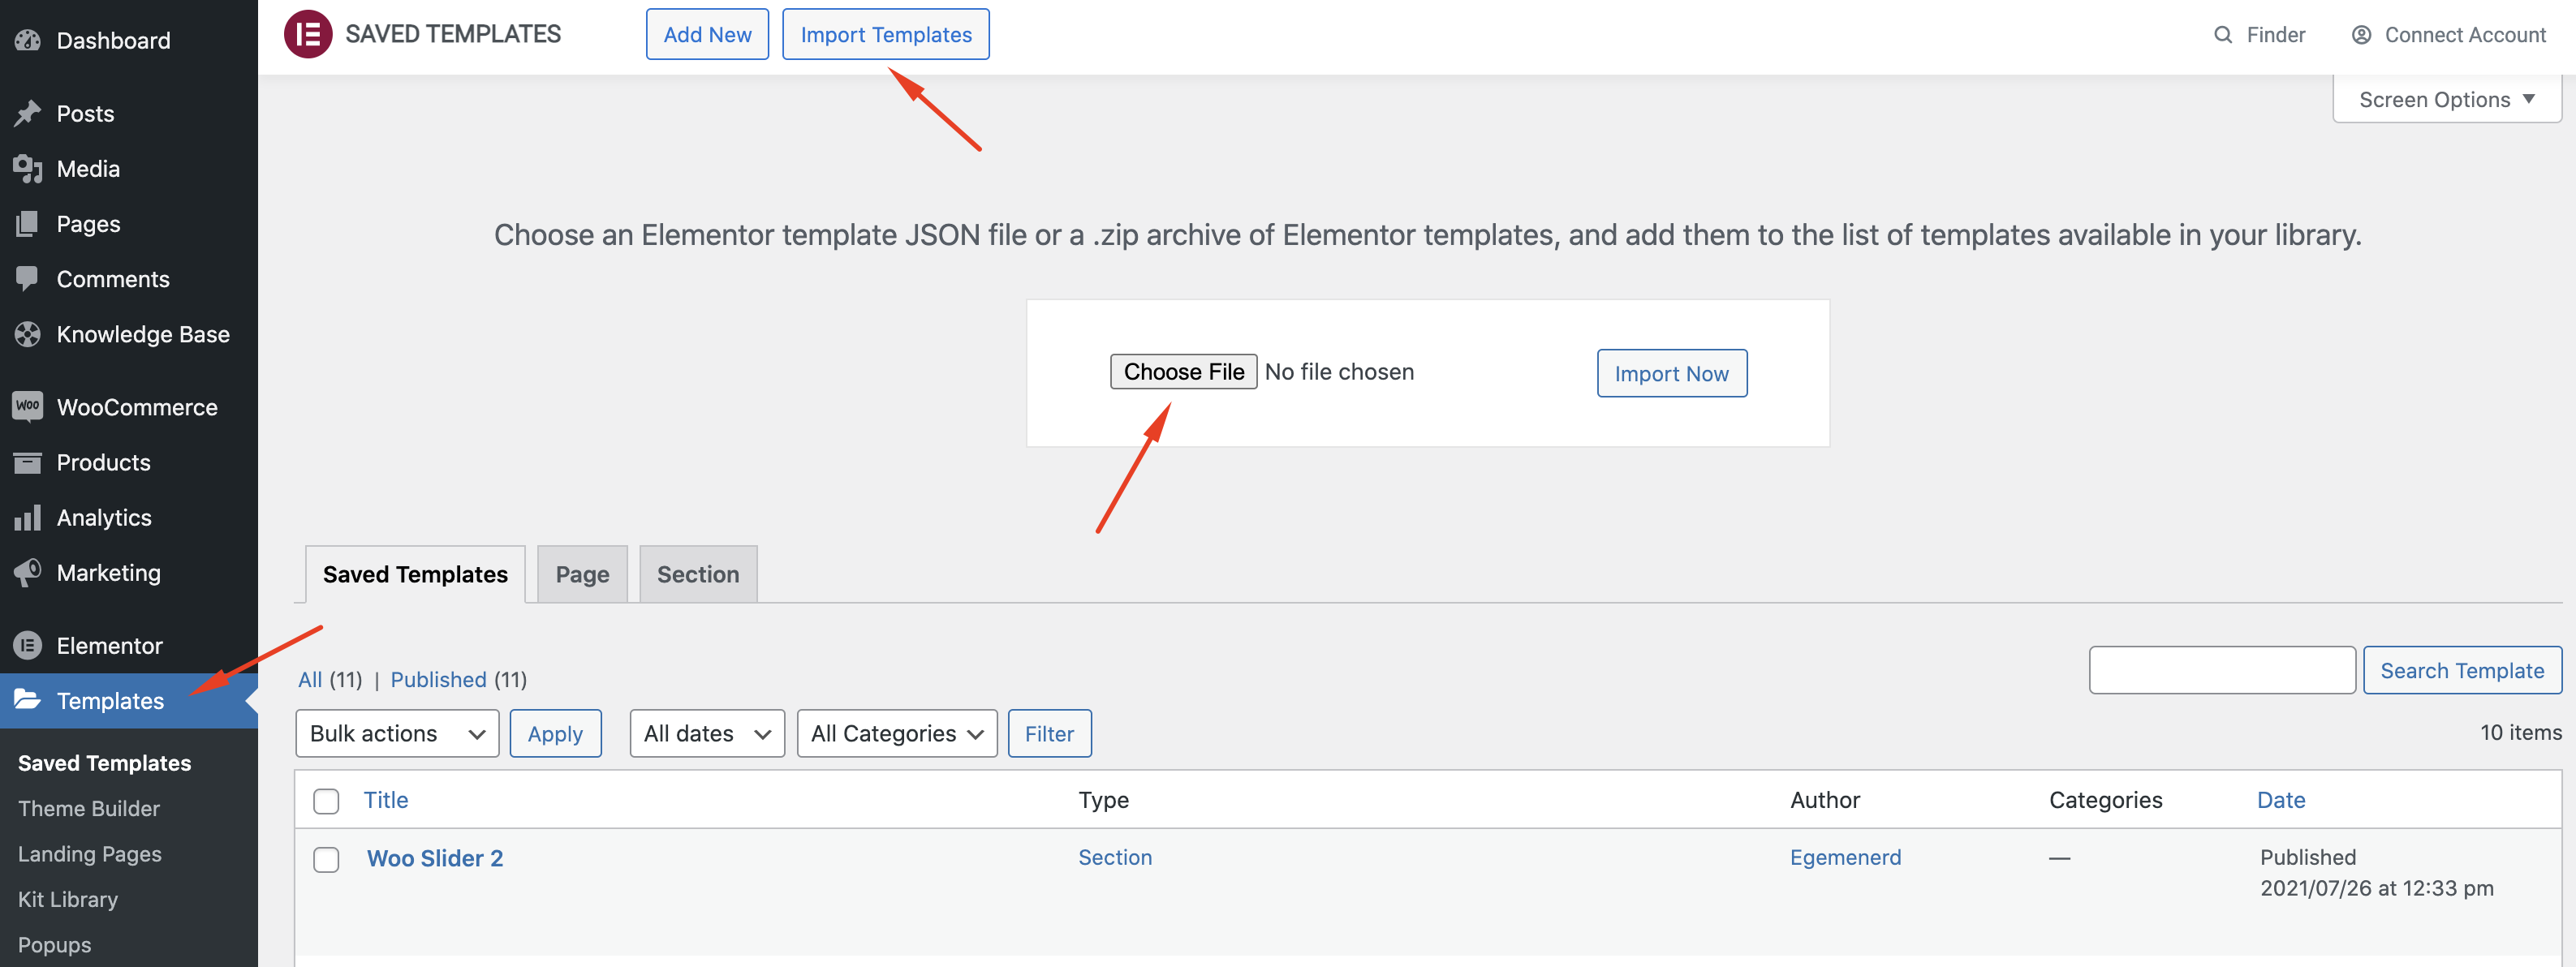
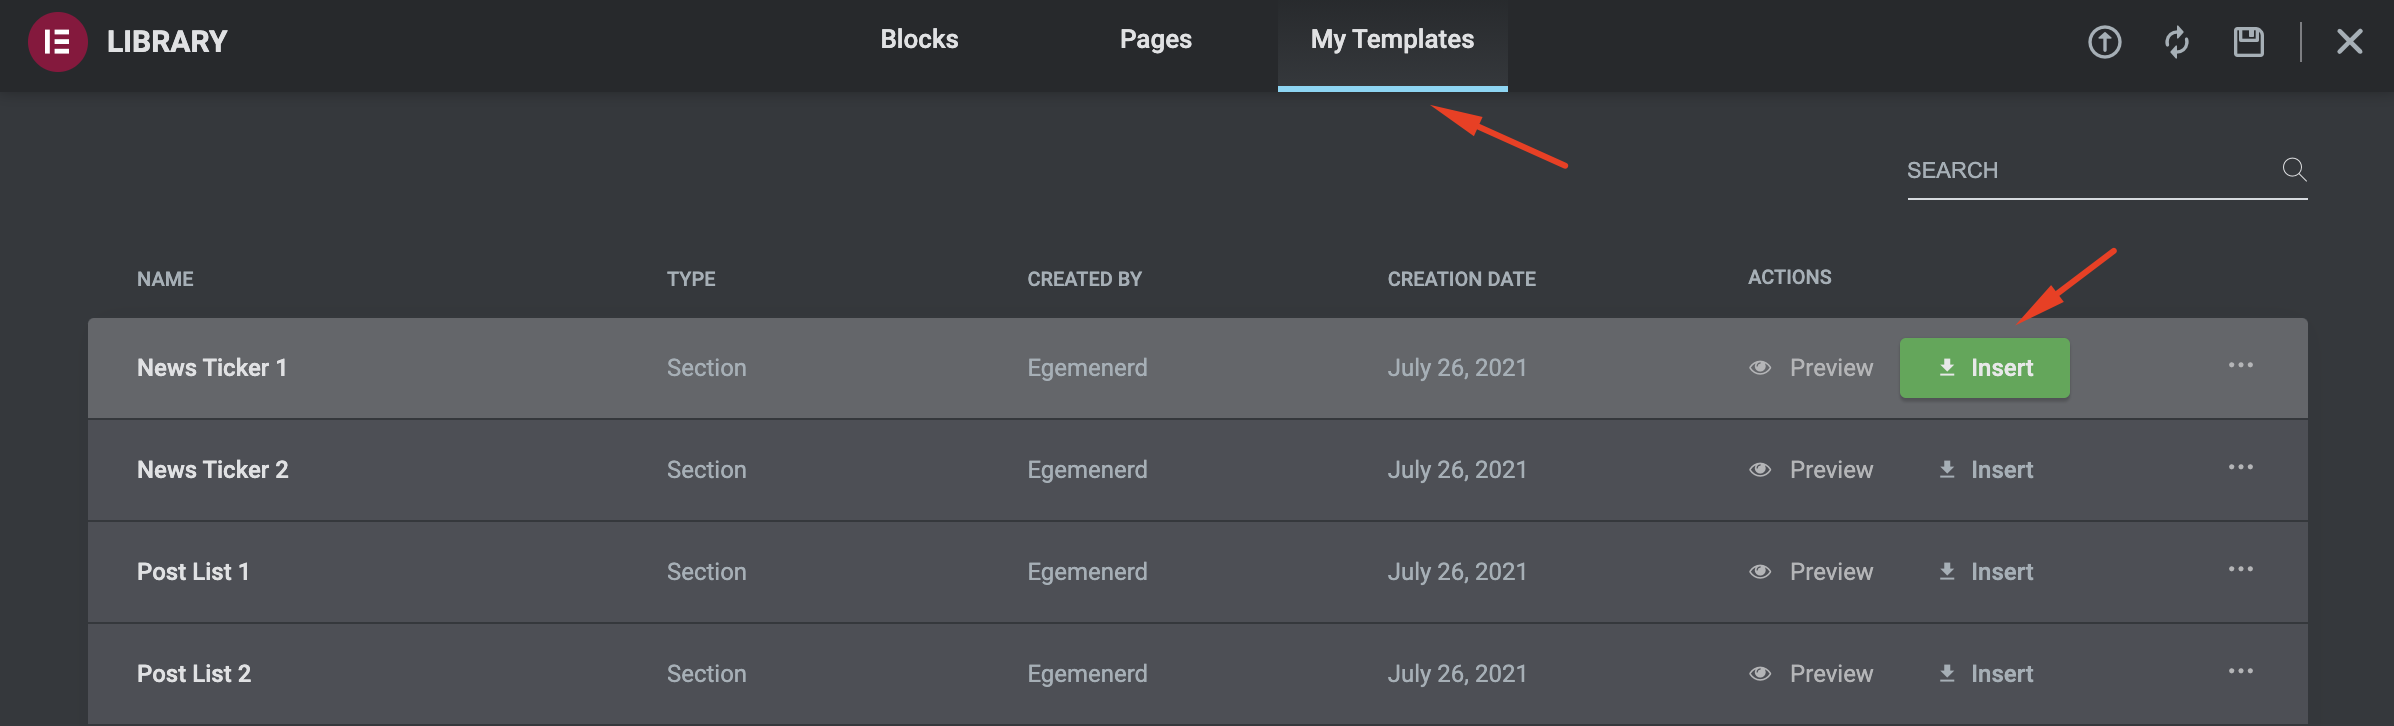
Elementor Templates
If you don't want to start from scratch, you can upload Elementor templates which are included in the download. Open the file which you've downloaded from your Codecanyon account (All Files). The files are in "Templates" folder. You can upload these templates to your site from Templates->Import Templates.